
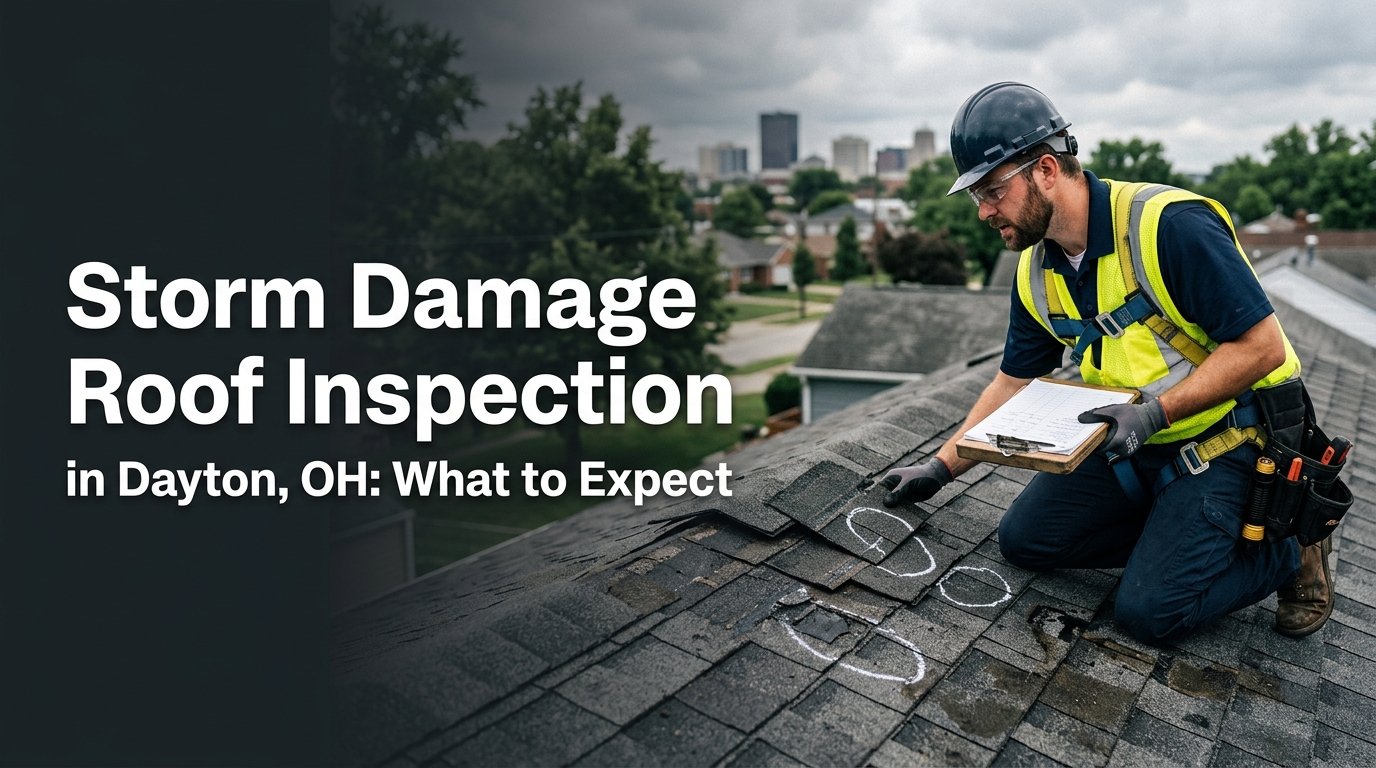
A storm hit your Dayton home and you need to know what damage occurred. A storm damage roof inspection dayton oh is your first step toward getting repairs and insurance coverage. Understanding what the inspection includes, what inspectors look for, and how documentation supports your claim helps you prepare. This guide walks through the entire roof storm damage assessment process so you know what to expect when professionals examine your roof.
Free storm damage roof inspection dayton is available from most reputable roofing contractors. They assess damage, provide documentation, and help guide your next steps. Understanding the inspection process removes mystery and helps you work effectively with contractors and insurance companies. This guide covers the post-storm roof assessment process from start to finish.
When Should You Schedule A Storm Damage Inspection?
Schedule inspection immediately after the storm. Don’t wait days or weeks. The sooner you document damage, the sooner repairs can begin. Early inspection prevents secondary water damage from worsening. Insurance companies expect prompt reporting. Most policies have timeframes for damage reporting and claim filing. Scheduling inspection within days of the storm ensures you meet those deadlines.
Inspection timing after hail and wind matters because weather windows close. Heavy rain after the storm increases water damage. Cold weather means repairs take longer. Spring storms often precede summer weather that allows quick repairs. Don’t delay hoping damage isn’t as bad as you think. Delaying increases risk of additional damage from weather. Schedule immediately after the storm passes.
Some contractors offer same-day or next-day inspections after major storms. During peak storm season, inspectors might be booked. The sooner you call, the sooner you get scheduled. If you’re concerned about safety or extensive damage, ask about emergency response. Many contractors prioritize emergency repairs and inspections during active storm season.
What Is A Post-Storm Roof Assessment?
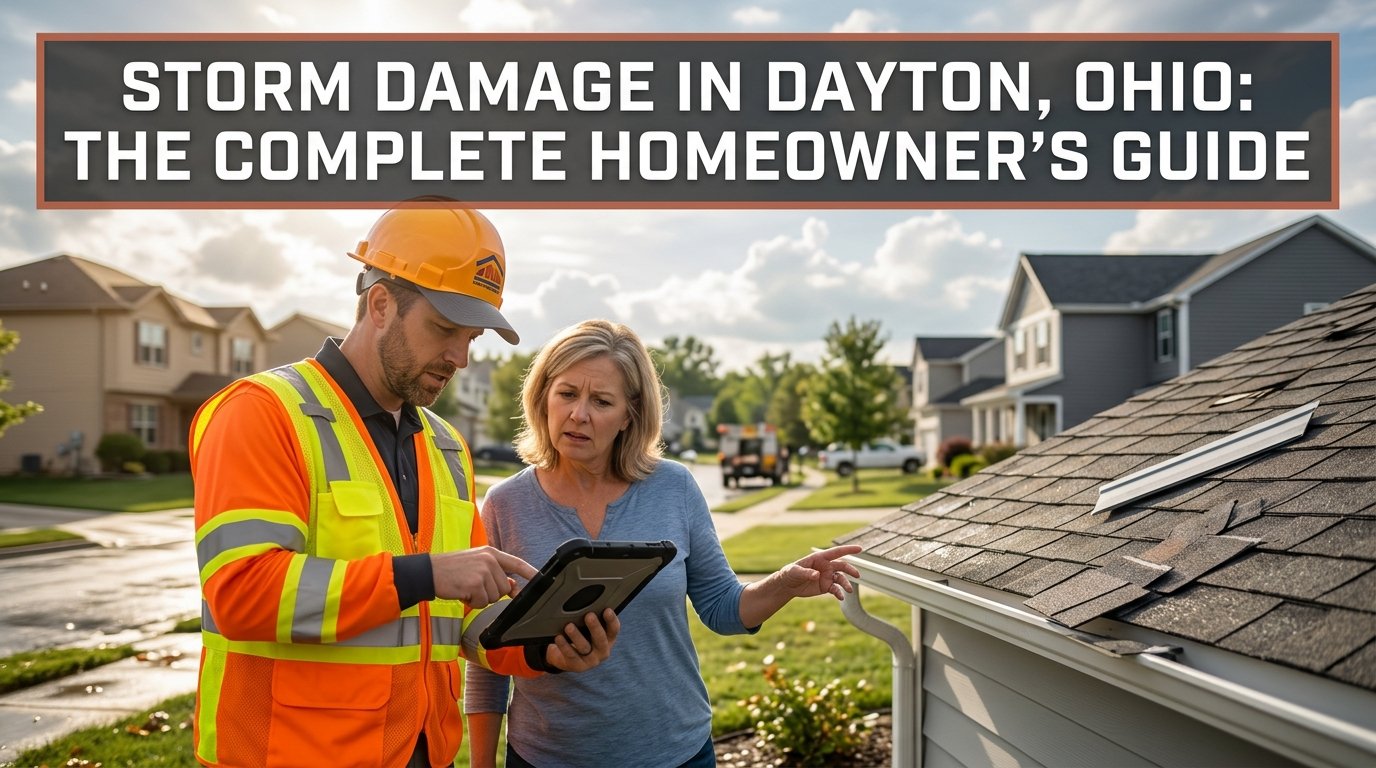
A post-storm roof assessment is comprehensive examination of your roof and home exterior to identify all storm damage. The assessment documents damage for insurance purposes and determines repair needs. Inspectors photograph damage, measure affected areas, and note specific damage types. They create detailed documentation that supports insurance claims and guides repair work.
The assessment includes examination of the roof itself, gutters, flashing, vents, chimneys, siding, and other exterior elements. It includes checking inside your home for water damage and moisture. It includes attic inspection for leaks or damage. The goal is finding all damage caused by the storm, both obvious and hidden. This comprehensive approach ensures nothing gets missed.
The inspection produces a detailed roofing inspection report that documents findings. This report becomes crucial for insurance claims. It provides the contractor with specifications for repair work. It creates a permanent record of damage and condition at the time of inspection. A thorough roof inspection checklist ensures systematic examination of all areas.
What Does An Inspector Check From The Ground?
Starting from ground level, inspectors look for obvious damage. They walk around your home examining roof shingles for missing, torn, or curled shingles. They look at gutters for damage, debris, or gutter granules indicating shingle damage. They examine downspouts for damage or improper connection. They look at roof flashing around vents and chimneys for bending, gaps, or separation.
Inspectors check siding for damage, impact marks, or water stains. They look at soffit and fascia for damage or moisture indicators. They check windows and doors for damage or water intrusion. Ground-level examination gives the first impression of damage extent. Obvious damage visible from the ground often indicates more damage exists higher up or hidden from view. Ground inspection informs the rest of the assessment.
What Do Inspectors Check On The Roof?
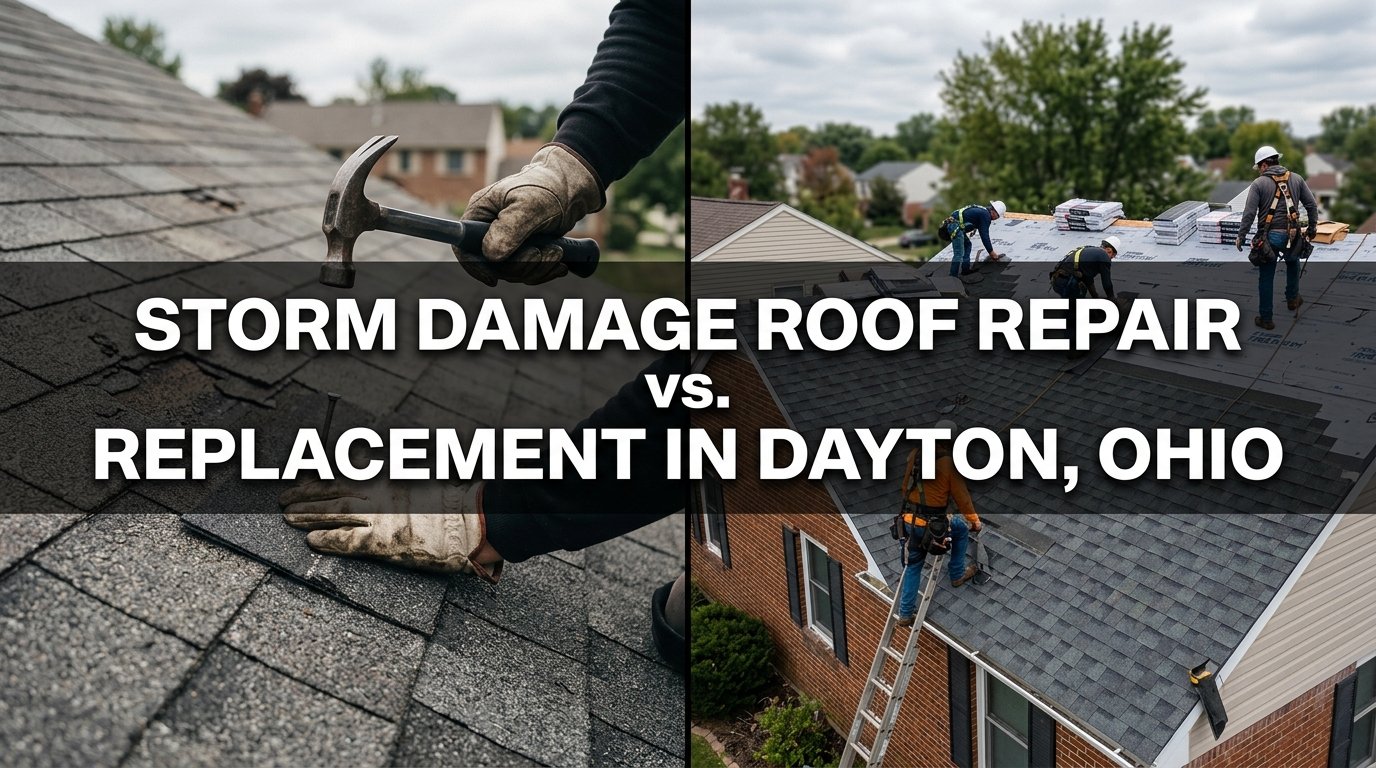
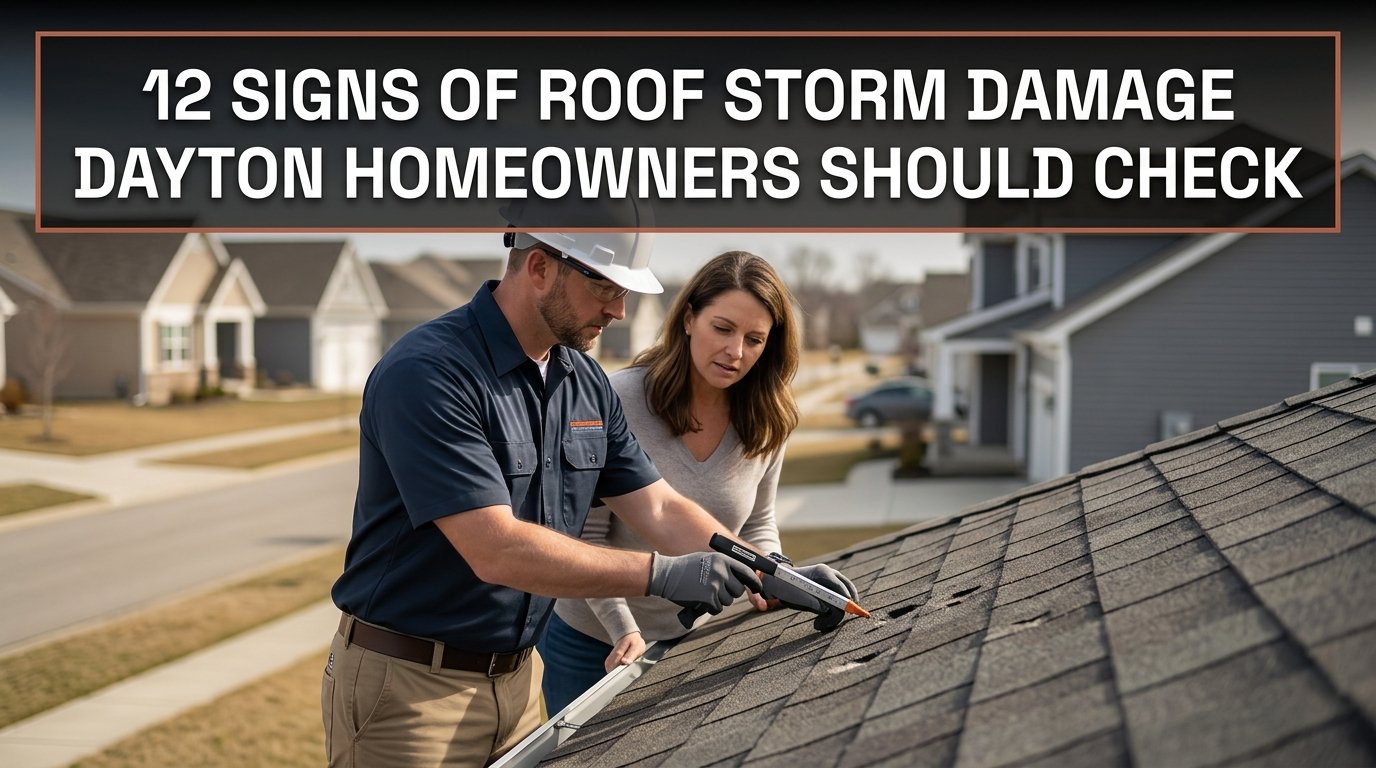
Once on the roof, inspectors examine closely. They look for all types of wind damage including lifted shingles, torn shingles, and flashing damage. They identify hail marks on shingles. Hail marks appear as bruised or dented spots. They check roof flashing at all penetrations including chimneys, vents, and skylights. They inspect roof vents for cracks or damage. They look for moss or algae growth indicating moisture retention.
Inspectors examine the roof decking in areas where damage is visible. They check for soft spots, warping, or rot. They photograph damage extensively to document condition. Detailed photos become crucial for insurance documentation and contractor estimates. The inspection from the roof reveals damage that ground-level inspection misses. Professional access to the roof surface finds hidden storm damage that affects repair decisions.
They also check roof valleys where water concentrates. They inspect transitions between different roof planes. They examine the roof perimeter where wind forces are strongest. Roofers know where damage typically concentrates based on wind direction and storm type. Their experience guides them to likely damage areas. Systematic roof examination ensures thorough documentation.
What Does Attic Inspection Reveal?
Attic inspection reveals whether water entered your home. Inspectors look for active leaks, water dripping from roof decking, or standing water. They examine the underside of roof decking for water stains indicating leaks. They check insulation for moisture or saturation. They look for attic moisture that indicates ongoing leaks or condensation problems. They examine framing for water damage or staining.
Attic inspection documents internal damage that supports insurance claims. Water damage visible in the attic proves roof damage exists even if external damage is minimal. Moisture problems in the attic might indicate hidden flashing damage or soft spots in the roof. Attic findings guide repair scope. Minor external damage with major attic water damage indicates flashing or underlayment problems.
Inspectors document attic findings with photos showing moisture, staining, or damage. These photos support insurance claims for interior damage. Documentation of attic conditions becomes important if you later discover mold or structural damage. The attic inspection completes the damage picture before repairs begin.
What’s The Difference Between A Roofer’s Inspection And An Insurance Adjuster’s Visit?
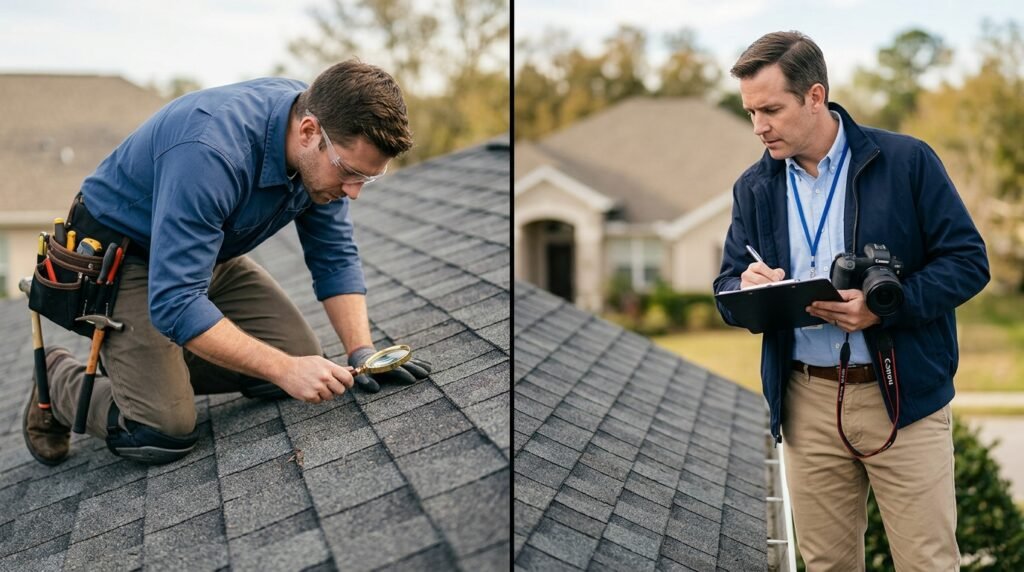
A roofer’s inspection is comprehensive assessment focused on damage extent and repair needs. Roofers examine thoroughly to understand what needs fixing. They identify hidden damage that affects repair decisions. Roofing inspectors work for you to document damage and guide repairs. Their goal is ensuring all damage gets identified and repaired properly.
An insurance adjuster visit is focused on determining coverage. Adjusters examine damage to assess whether it’s covered under your policy and whether damage extent justifies claims payment. Adjusters are impartial third parties employed by insurance companies. They determine whether damage is storm-related or pre-existing. They calculate damage value and coverage determination. Adjusters might be more conservative in damage assessment than roofers.
You benefit from having both inspections. The roofer’s inspection documents damage thoroughly. The adjuster’s visit determines what insurance covers. Sometimes roofing inspections reveal more damage than adjusters acknowledge. Having detailed documentation supports your position if disputes arise. Both inspections serve different purposes in the storm damage process.
What Documentation Does The Inspection Produce?
The inspection produces multiple documentation types. Detailed photo documentation shows all damage identified. Photos include close-ups of specific damage and wide shots showing damage patterns. Before-and-after photographs if taken during and after storm show changes. Photo documentation is crucial for insurance claims. Clear photos prevent disputes about what damage exists.
The roofing inspection report details all findings. It lists damage by location and type. It includes inspector’s professional assessment of damage significance. The report often includes damage category ratings and urgency recommendations. The report becomes the basis for repair estimates and insurance claims. A thorough report leaves no ambiguity about damage found.
Date of loss documentation records when the storm occurred and when damage was discovered. This timeline is important for insurance purposes. Insurance might dispute claims reported too late. Documentation of when you discovered damage and reported it protects you if questions arise. Photographs with timestamps help establish timeline.
What Is A Storm Damage Inspection Checklist?
A systematic roof inspection checklist ensures nothing gets missed during inspection. Checklists cover all roof components, exterior elements, and interior areas. They prompt inspectors to check specific items in specific locations. Systematic checklists produce consistent, thorough documentation. Using checklists helps newer or less experienced inspectors work systematically.
Checklists typically cover: roofing materials and condition, flashing at all penetrations, gutters and downspouts, soffit and fascia, vents and chimney, siding, windows and doors, foundation, attic, interior water damage locations, and overall damage summary. Checking each item systematically prevents overlooking damage. Quality contractors use detailed checklists for every inspection.
A downloadable checklist helps homeowners understand what inspectors check. Homeowners can use the same checklist to do preliminary inspection before professionals arrive. Understanding the inspection scope helps you communicate with inspectors about specific concerns. Providing a checklist to contractors shows you take the inspection seriously.
What Should Sample Inspection Report Sections Include?
A quality inspection report includes property identification and storm information. It includes date of inspection and inspector credentials. It provides detailed damage summary by category. It includes descriptions of damaged areas with specific locations. It includes photographic evidence with descriptions of what photos show.
The report should include professional assessment of damage significance. It should identify damage categories like hail damage, wind damage, water damage, or impact damage. It should rate damage severity as minor, moderate, or severe. It should recommend repair versus replacement based on damage extent. It should estimate damage value and repair scope.
The report should include recommendations for next steps. It might recommend emergency tarping for severe roof damage. It might recommend professional water damage assessment for interior damage. It might recommend contractor contact information for obtaining repair estimates. A complete report guides your decisions moving forward.
How Should You Prepare For The Inspection?
Make a list of areas you think have damage. Note specific locations of missing shingles, water stains, or other damage you’ve noticed. Provide this list to the inspector. Point out specific concerns. This helps inspectors focus on areas you’re concerned about while still completing systematic inspection.
Make your home accessible. Ensure the inspector can access your roof safely if possible. Clear obstructions around the house perimeter. Ensure attic access is available. Unlock gates or doors needed for access. Cooperate fully with the inspection process. The more access inspectors have, the more thorough their assessment can be.
Prepare to ask questions. Ask what damage was found. Ask what’s needed for repair. Ask about emergency measures like tarping. Ask about insurance claim process. Ask about timeline for repairs. Active participation in the inspection process helps you understand your situation better.
Frequently Asked Questions About Storm Damage Roof Inspection
How much does a storm damage roof inspection cost in Dayton?
Most free storm damage roof inspection dayton is available from quality roofing contractors. They provide inspections at no charge in hopes of securing repair contracts. This is industry standard for storm damage assessment. Some contractors charge for inspections if you don’t hire them for repairs. Insurance might cover inspection costs. Ask contractors upfront about inspection costs. You shouldn’t pay for storm damage assessment from qualified contractors.
How long does a roof inspection take?
A thorough storm damage roof inspection typically takes one to two hours depending on roof size and damage extent. Small homes with minimal damage might take thirty minutes. Large homes or extensive damage might take three to four hours. The inspection includes roof access, attic access, interior inspection, and photo documentation. Allow time for detailed examination. Rushing an inspection results in missed damage.
Should I be present during the inspection?
Yes, if possible. Being present allows you to ask questions and hear findings directly. You can point out specific concerns. You hear the inspector’s professional assessment of damage. You learn what’s covered and what needs repair. Being present helps you understand your home’s condition. If you can’t be present, have someone there representing your interests.
What should I do with the inspection report?
Provide the inspection report to your insurance company with your claim. Provide it to contractors who give repair estimates. Keep a copy for your records. The report documents damage for future reference. If disputes arise with insurance, the report supports your position. The report guides repair work. Treat the inspection report as important legal and financial documentation.
Can I file an insurance claim based on the contractor’s inspection?
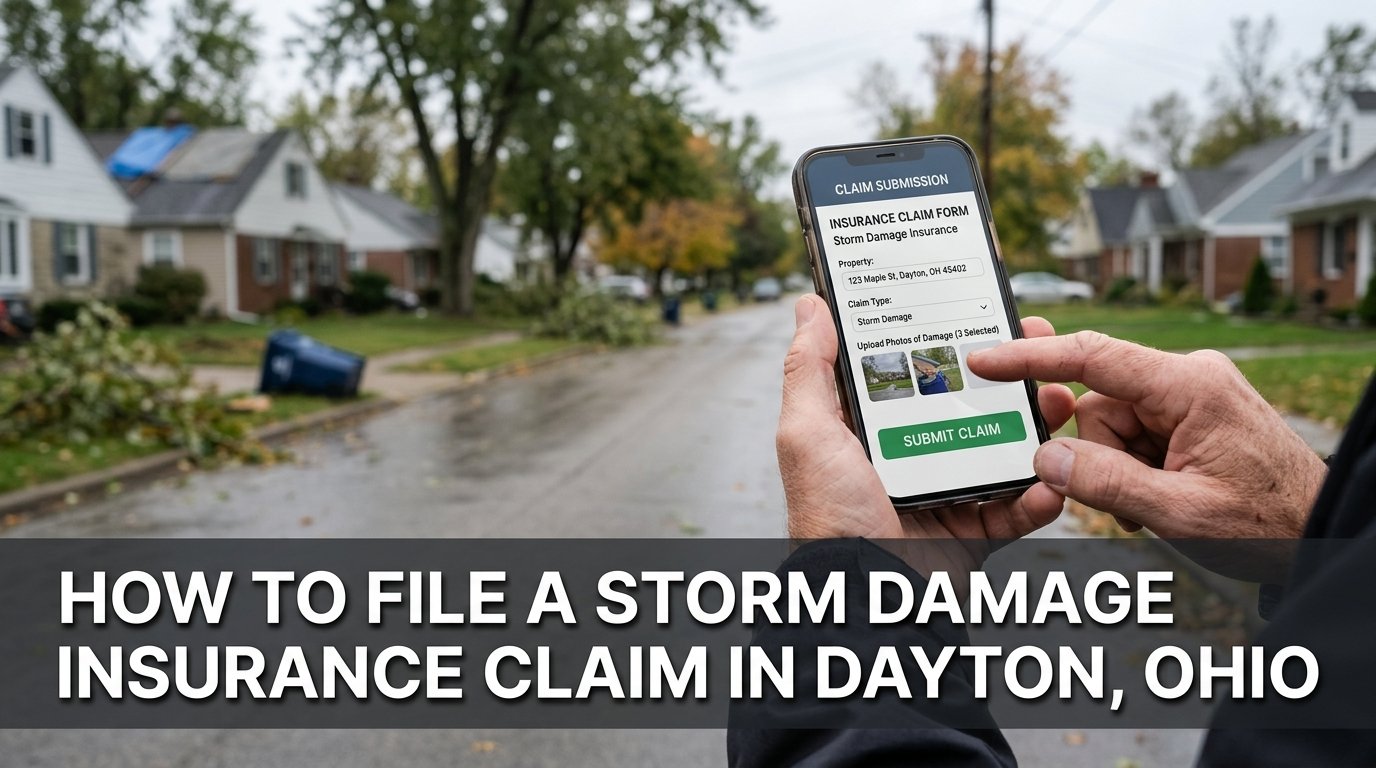
Yes. A thorough inspection from a qualified contractor provides documentation supporting your claim. However, your insurance company might want their own adjuster to inspect. Providing the contractor’s report speeds up the insurance process. The report documents damage before insurance inspection. This protects you if damage worsens between inspections. Quality contractor documentation supports your insurance claim significantly.
What happens if the insurance adjuster’s assessment differs from the contractor’s?
If assessments differ significantly, request a meeting with your adjuster and contractor. Have them compare findings. Sometimes disagreement is minor and easily resolved. Sometimes damage assessment genuinely differs between professionals. Your insurance agent can help mediate disputes. If you disagree with insurance assessment, you can request independent evaluation. Document all disagreements for potential appeal processes.