
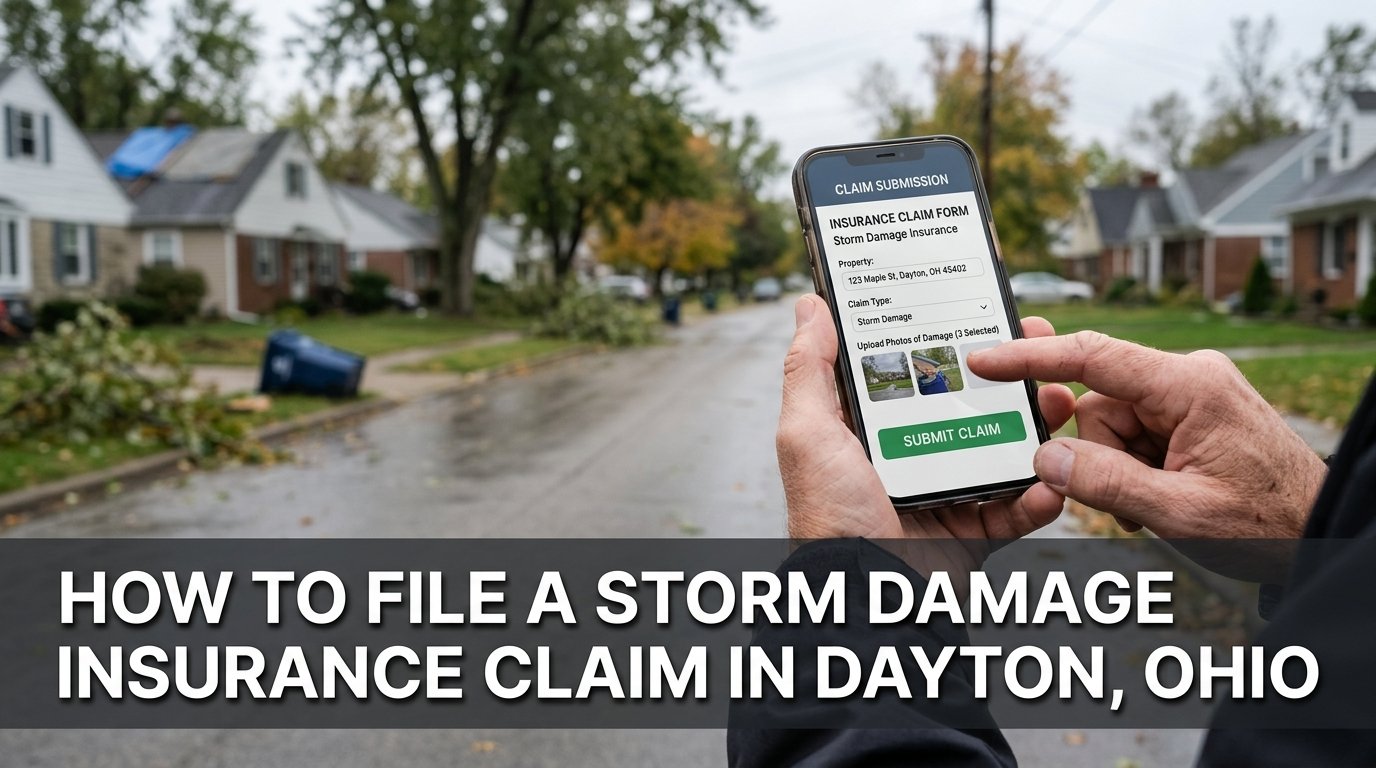
A storm hit your Dayton home and now you’re facing storm damage insurance claim decisions. You don’t know where to start or what steps to follow. This guide walks through the process of filing a storm damage insurance claim from start to finish. We cover everything from immediate property protection to working with adjusters to managing repairs. Understanding the process removes confusion and helps you navigate insurance claims successfully.
Storm damage insurance claims can feel overwhelming. You’re stressed about damage to your home. You’re unsure about your policy coverage. You don’t know whether to file a claim or pay out of pocket. This guide provides a roadmap through the claims process. Every situation is different. Coverage depends on your specific policy. This guide explains the general process while emphasizing that your individual policy determines actual coverage.
Important Disclaimer: This guide explains general storm damage insurance claims process. Your specific coverage depends on your homeowners insurance policy, your insurer, and the type of damage. Coverage varies by policy and insurer. Some damage is covered. Some isn’t. Some claims have waiting periods or policy limits. Contact your insurance agent to understand your specific coverage before making decisions.
Step 1: Protect Your Property From Additional Damage
Immediately after a storm, focus on preventing further damage. If water is actively leaking into your home, call a roofing contractor for emergency mitigation. Temporary roof covering through tarping stops water intrusion temporarily until permanent repairs happen. Emergency mitigation costs money upfront but prevents exponentially more expensive water damage from spreading.
Move items away from damaged areas to prevent loss. If water is pooling on the floor, remove items to higher ground. If wind destroyed walls or windows, cover openings to prevent rain from entering. Document all emergency measures taken and keep receipts. Insurance might cover emergency mitigation costs. Emergency actions taken immediately after a storm are justified and necessary.
Safety is priority. Don’t take risks trying to prevent damage. Don’t climb on damaged roofs. Don’t enter areas that look unsafe. Call professionals for emergency work. Your safety matters more than preventing every bit of damage. Professional emergency response is worth the cost compared to personal injury risk.
Step 2: Photograph Visible Damage Immediately
Document all visible damage with photos and video from safe angles. Take close-up photos of specific damage like missing shingles or dents. Take wide shots showing overall damage patterns. Take photos from multiple angles to show damage clearly. Include photos of damage photographs that show date and time if possible. Timestamp photos when available.
Photograph exterior damage including roof damage, gutter damage, siding damage, window damage, and any visible roof damage claim evidence. Photograph interior damage including water stains on ceilings and walls, water damage to belongings, and any visible water intrusion. Comprehensive damage photographs create visual documentation of damage extent. Photos are the most powerful evidence for insurance claims.
Store photos in multiple locations. Upload to cloud storage. Email copies to yourself. Print copies. Multiple copies ensure you don’t lose critical documentation if a device fails. Organize photos chronologically and by damage type. This organization makes it easy to reference specific damage when discussing claims with adjusters or contractors.
Step 3: Record The Storm Date And Details
Document date of loss precisely. Write down the exact date and time the storm occurred. Note the type of storm: straight-line wind, hail, tornado, or heavy rain. Note weather conditions during the storm. Document when you first noticed damage. This timeline is important for insurance purposes. Insurance companies want to know when damage occurred and when discovered.
Write down specific observations about the storm. What was wind speed like? How large was hail? What damage did you see immediately? This detailed record supports your claim. It establishes that damage is storm-related, not pre-existing. Detailed documentation prevents insurance disputes about when damage occurred or whether it’s covered.
Keep all records organized. Create a folder with photos, written observations, and timeline. Keep receipts from emergency work. Keep quotes from contractors. Keep all communications with insurance company. Organized documentation makes claims process smoother and supports your position if disputes arise.
Step 4: Review Your Insurance Policy
Read your homeowners insurance policy to understand coverage. Policies vary significantly. Some cover hail damage. Some have hail deductibles. Some cover wind damage. Some exclude wind damage in certain circumstances. Some have dollar limits on specific types of damage. Understanding your policy prevents surprises when adjusters make coverage decisions.
Look for your policy’s policy deductible. This is the amount you pay out of pocket before insurance covers damage. Deductibles vary. Some policies have five hundred dollar deductibles. Others have one thousand or more. Knowing your deductible helps you understand whether filing a claim makes financial sense. If repair cost is only slightly more than your deductible, filing might not be worthwhile.
Look for any exclusions in your policy. Some policies exclude water damage from specific causes. Some exclude coverage for old roofs. Some have special provisions for high-risk areas. Understanding exclusions prevents assumptions about what’s covered. If you’re uncertain about coverage, contact your insurance agent. Agents explain policy details and help you understand coverage.
Step 5: Schedule A Professional Inspection
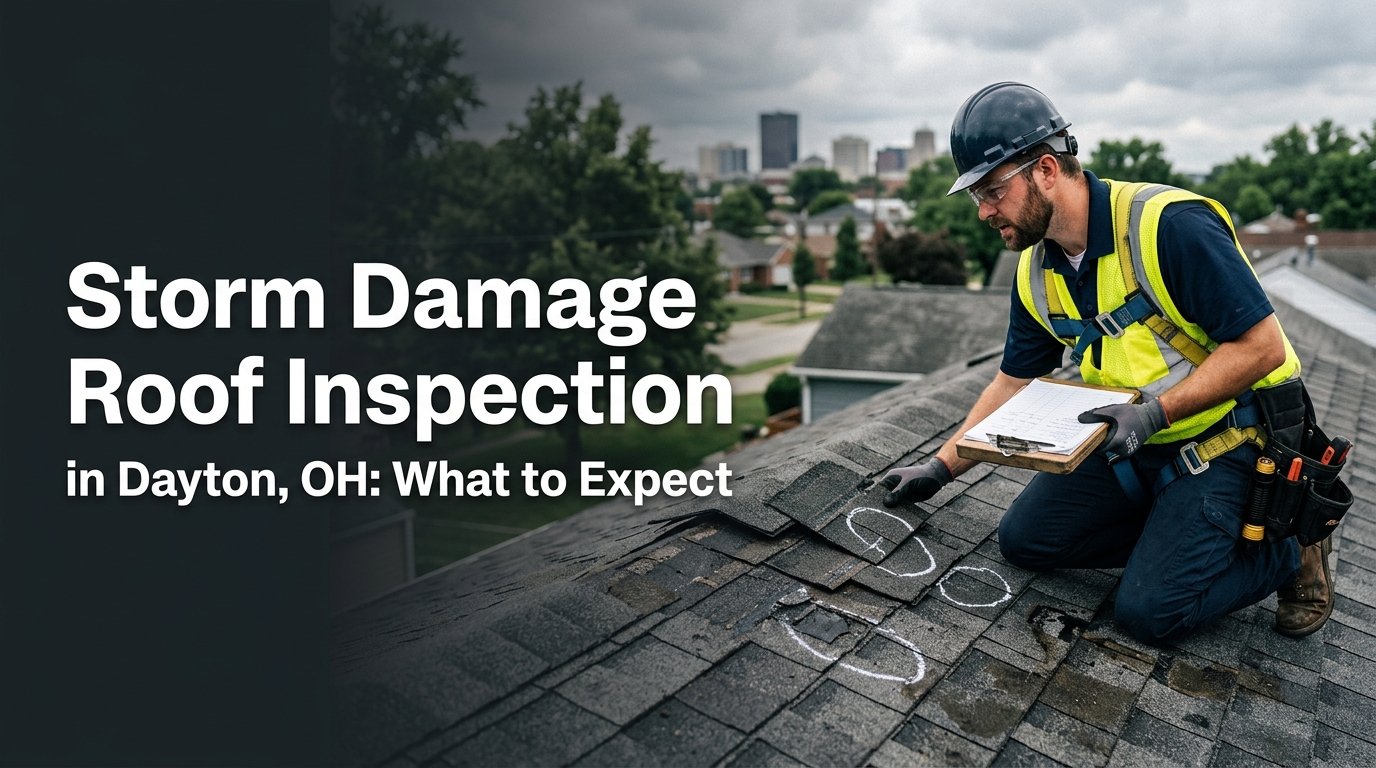
Before calling your insurance company, schedule a professional roof inspection report from a roofing contractor. A thorough roof inspection report documents all damage. This documentation supports your claim. It provides your adjuster with professional assessment of damage. Contractors have expertise adjusters respect. Professional documentation strengthens your claim position.
Roof inspection report typically cost nothing from quality contractors. They provide inspections free in hopes of getting repair contracts. Get the inspection within days of the storm before additional weather causes more damage. The sooner you document damage, the sooner repairs can begin. Professional documentation is your insurance against missing damage later.
The inspection produces photos, written report, and damage assessment. This becomes your baseline documentation. If adjusters later question damage extent, your professional inspection provides evidence. Quality contractor inspections are thorough and detailed. This documentation guides repair work and supports your claim.
Step 6: Notify Your Insurance Company Promptly
Contact your insurance company within days of discovering damage. Most policies have timeframes for reporting. Delaying notification might affect coverage or claim payment. Provide your policy number. Explain the storm date and damage discovered. Provide initial details about damage type and location. This starts the claims process.
Ask for a claim number. You’ll use this claim number for all future communications. Ask about your adjuster’s name and contact information. Ask about the claims process timeline. Ask whether your policy covers the damage you describe. Ask about your policy deductible. Get answers to basic questions during this initial call. Document the call including date, time, and person you spoke with.
Ask about emergency services coverage. Sometimes insurance covers emergency mitigation and temporary roof covering. Knowing this prevents paying out of pocket for covered services. Ask about next steps. Usually an adjuster will be assigned to your case and will contact you within a few days.
Step 7: Cooperate With The Insurance Adjuster’s Visit
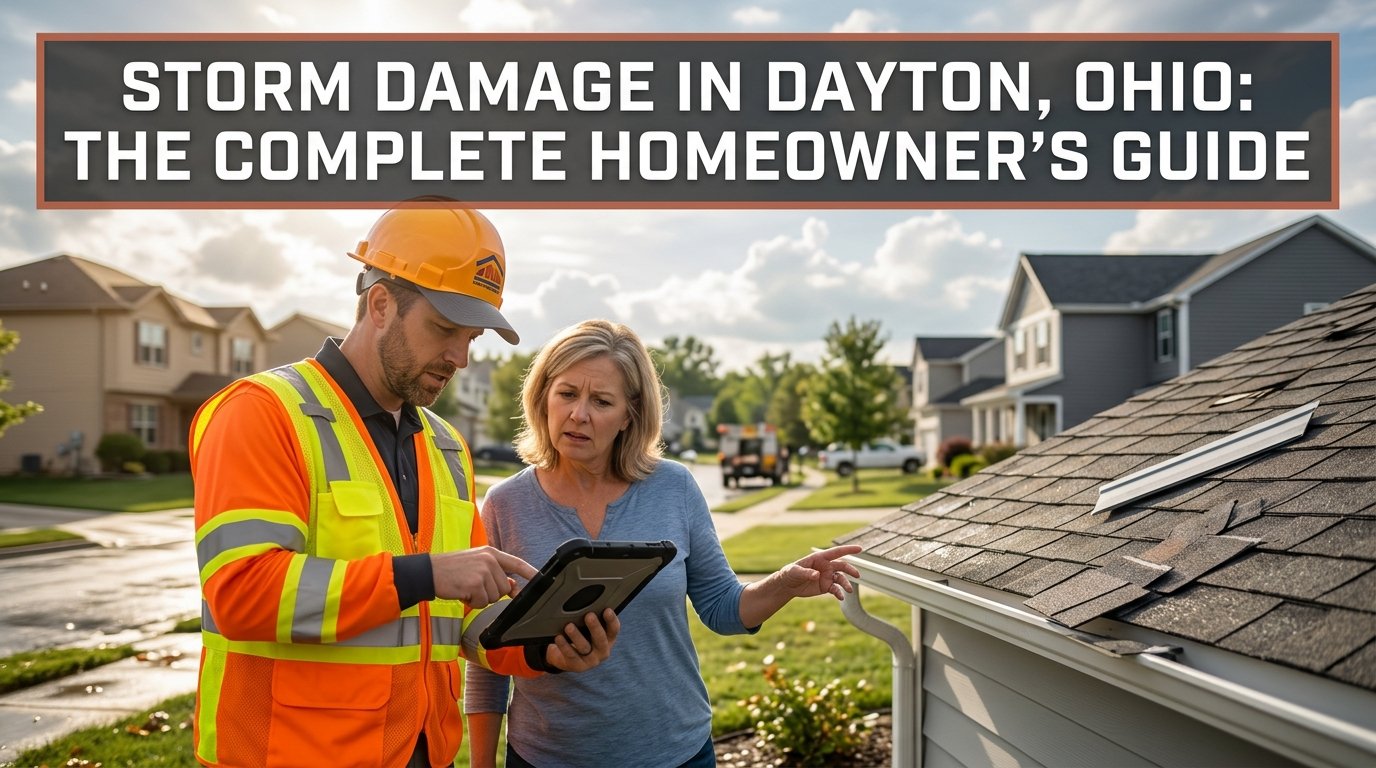
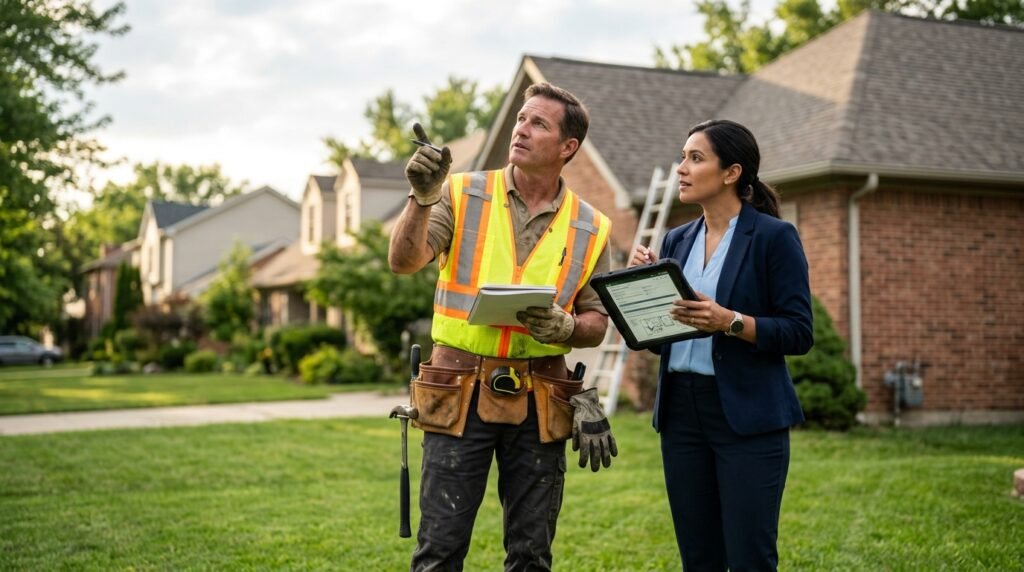
The insurance adjuster will contact you to schedule a property inspection. Make your home accessible for the inspection. Be present if possible. The adjuster examines damage to determine coverage and estimate repair costs. Adjusters are impartial. They determine what’s covered under your policy. They estimate damage value.
Point out all damage you’ve noticed. Show the adjuster your professional inspection photos. Explain what happened during the storm. Provide timeline of when damage was discovered. Answer the adjuster’s questions honestly. The adjuster needs accurate information to make coverage decisions. Cooperation speeds up the process.
Ask the adjuster questions. Ask what damage they found. Ask what’s covered. Ask about next steps. Ask about timeline. Ask about dispute processes if you disagree with their assessment. Document the adjuster’s findings. Ask for a copy of their inspection report when it’s completed. Get the adjuster’s contact information for future questions.
Step 8: Compare Professional Findings With Adjuster Assessment
After both inspections are complete, compare findings. Sometimes the professional contractor’s assessment differs from the insurance adjuster’s assessment. This isn’t unusual. Contractors focus on damage extent and repair needs. Adjusters focus on coverage and policy limits. They might reach different conclusions about damage severity.
If assessments differ significantly, request a meeting with both the adjuster and contractor present. Have them compare findings directly. Sometimes disagreement is minor and easily resolved through conversation. Sometimes damage assessment genuinely differs. Your insurance agent can help facilitate these conversations. Documentation from both professionals supports your position if you disagree with insurance assessment.
Keep all assessment documents. Store reports safely. You might need them for appeals or disputes. Having comprehensive documentation prevents future disagreement about what professionals found during inspections. Clear records protect you throughout the claims process.
Step 9: Keep Estimates, Invoices, And Communications
Collect detailed contractor estimate from qualified roofing contractors. Get at least two estimates so you understand reasonable repair cost. Insurance adjusters use contractor estimates to determine coverage amounts. Quality estimates from established contractors carry weight with adjusters. Estimates should include detailed scope of work.
Keep all receipts from any repairs or emergency work done. Keep invoices for contractor services. Keep records of all communications with insurance company. Write down dates, times, and names of people you speak with. Keep copies of all correspondence. Insurance companies should provide written explanations of coverage decisions. Request documentation of all decisions.
Create a claims file with all documents organized. Include photos, inspection reports, contractor estimates, invoices, receipts, correspondence, and notes about phone conversations. This organized file makes it easy to reference information when needed. It protects you if disputes arise. Comprehensive documentation throughout the claims process is your best defense.
Step 10: Complete Approved Repairs With Proper Contractor
Once insurance approves your claim and repair scope is determined, select a contractor. Get references from contractors you’re considering. Check licensing and insurance. Compare estimates from multiple contractors. Select a contractor with good reputation and experience with insurance claims. Quality contractors know how to work with insurance companies efficiently.
Insurance-approved repairs use the scope and cost determined during the claims process. Stick to approved scope. Don’t do additional repairs without understanding insurance coverage. Repairs beyond approved scope are your responsibility. Work with contractors to complete repairs as specified. Document completed work with photos.
Get final inspection from your insurance company if required. Some insurers require inspection of completed work before final payment. Complete all repair work within reasonable timeframes. Keep all invoices and receipts. Final documentation completes your claims file. Organized records protect you if questions arise about repairs.
Frequently Asked Questions About Storm Damage Insurance Claims
How long does the claims process typically take?
The claims process timeline varies. Initial adjuster visit typically happens within one to two weeks after you report the claim. The adjuster provides findings and coverage decision within a few more weeks. If you dispute the assessment, resolution takes longer. Actual repairs might take weeks or months depending on contractor availability and repair complexity. Overall, expect the full process from claim to completed repairs to take two to four months.
Do I have to use my insurance deductible?
Yes, typically. Your policy deductible is the amount you pay before insurance covers damage. If your deductible is one thousand dollars and repairs cost five thousand dollars, you pay one thousand and insurance pays four thousand. If repairs cost less than your deductible, you pay the full amount. Some policies waive deductibles for specific damage types. Check your policy or ask your agent about deductible rules.
What if I disagree with the insurance adjuster’s damage assessment?
Request a meeting with the adjuster and your contractor to compare findings. Sometimes disagreements are resolved through conversation. If you still disagree, contact your insurance agent. Agents can often help resolve disputes. If your adjuster won’t reconsider, you might request an independent adjuster or hire a public adjuster to represent you. Document all disagreements carefully. Some insurance disputes require legal counsel.
Can I get insurance to cover my deductible?
Insurance covers the damage after your deductible. Your deductible isn’t covered. However, if damage is extensive, sometimes settlement exceeds your deductible significantly. You might be able to request deductible waiver if you can show the damage was especially severe or if you have special coverage. Ask your agent about deductible waiver possibilities. Generally, you’re responsible for your full deductible amount.
What counts as proof of storm damage for insurance?
Professional inspection reports, photographs with timestamps, contractor estimates, and eyewitness accounts all count as proof. Insurance adjusters look for evidence that damage is storm-related. Photos showing damage patterns consistent with wind or hail help prove cause. Professional inspectors and contractors provide credible evidence. Weather service records of storms in your area support claims. Comprehensive documentation establishes proof of storm damage.
Should I file a claim even if damage is near my deductible?
If repair cost is close to or below your deductible, filing might not be worthwhile financially. You’d pay the full deductible and insurance would pay little. However, file if damage exceeds your deductible significantly. Also consider whether you might have additional claims in the future. Filing claims can affect your insurance rates. Consult your agent about whether filing makes sense for your specific situation.