
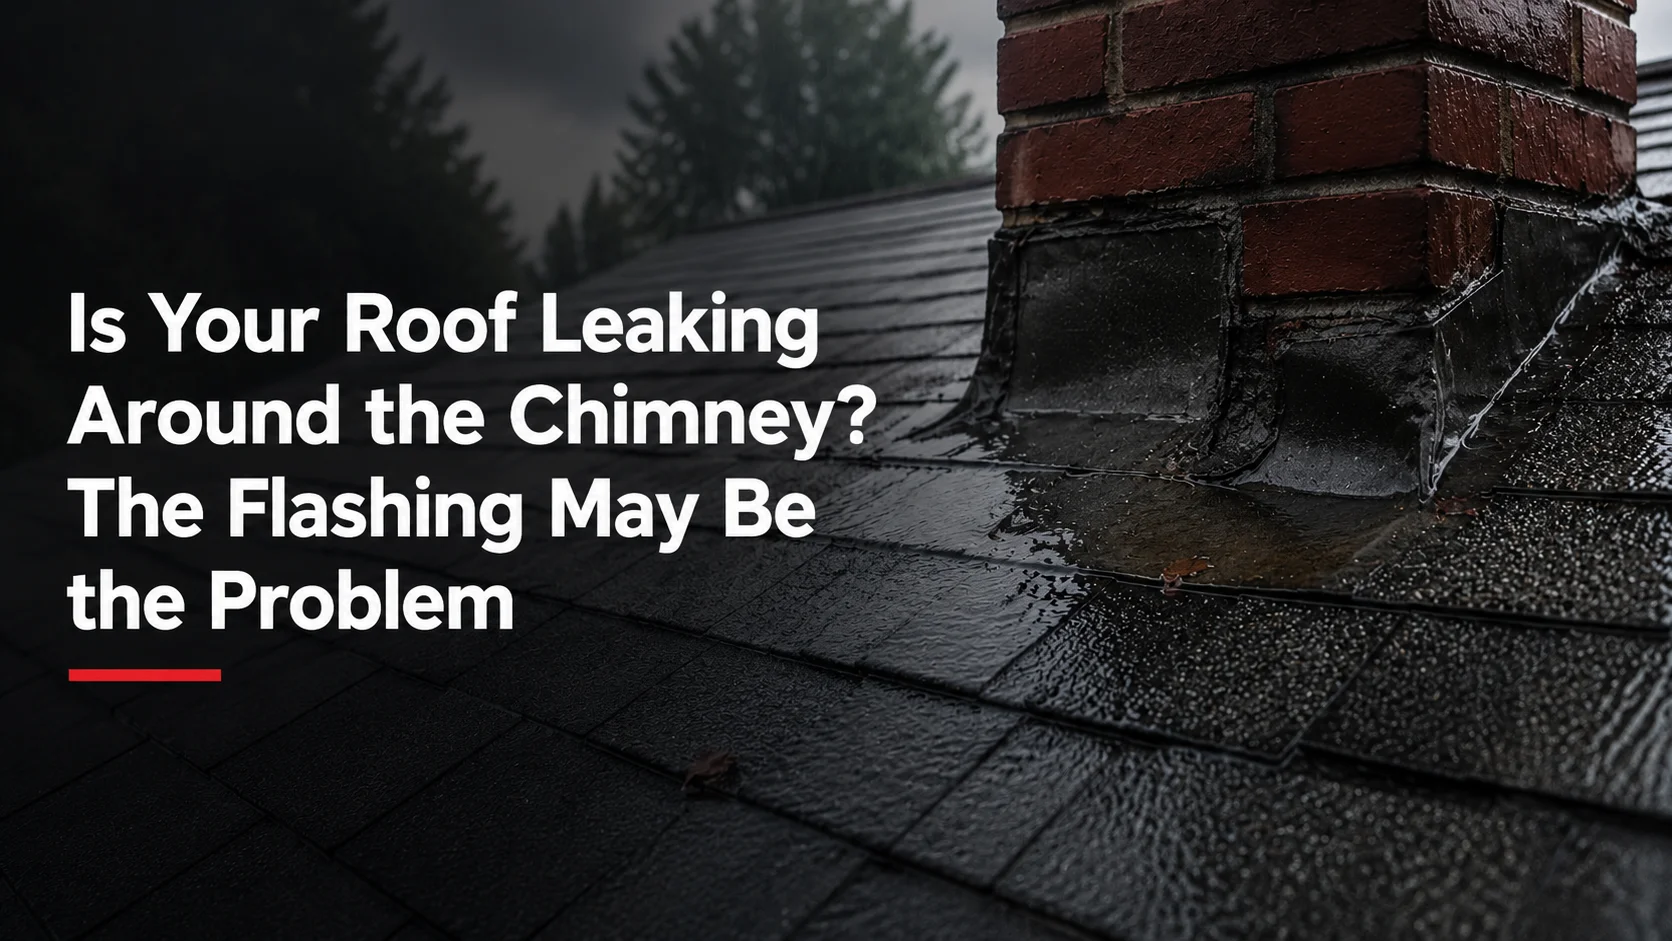
If you’ve spotted a brown stain creeping across the ceiling near your fireplace, smelled something musty in the upstairs hallway after a storm, or heard a drip you can’t quite trace, there’s a good chance your roof isn’t actually the problem. The chimney is there.
More specifically, it’s usually the flashing. After twenty years of crawling around attics and chimneys across Beavercreek and the greater Dayton area, we can tell you that flashing failure is behind the majority of chimney leaks we get called out for—not a bad shingle, not a hole in the roof deck, but a thin strip of metal that’s finally given up after years of Ohio’s freeze-thaw cycles. In this guide, we’ll walk through what flashing actually does, why it fails, how to tell it’s the culprit, and what a real chimney flashing repair in Beavercreek, OH, involves.
Why the Chimney Is the Most Common Place for a Roof to Leak
A roof is designed to shed water in one continuous plane. A chimney interrupts that plane completely. You’ve got brick or block masonry sitting in the middle of a field of asphalt shingles, and those two materials don’t move the same way. Masonry expands and contracts with temperature far more slowly than shingles and roof decking do. Over a few hundred freeze-thaw cycles a year here in southwest Ohio, that difference in movement puts constant stress on whatever is sealing the gap between them.
That seal depends on several components working together: flashing, the shingles that tie into it, the mortar joints in the brick, and a bead of sealant holding it all watertight. Any one of those can fail on its own and let water in. In our experience, the chimney-to-roof transition is the single highest-risk area on most homes we inspect—well ahead of valleys, vents, or the open field of the roof.
What Chimney Flashing Actually Does
Flashing is the metal barrier installed at that transition to route water down and off the roof instead of letting it sit at the seam. It’s rarely one piece of metal. On a properly built chimney, you’re looking at two or three separate flashing components layered together.
Step flashing is a series of small L-shaped metal pieces, usually aluminum or galvanized steel, installed one at a time as each row of shingles goes up the side of the chimney. Each piece overlaps the one below it and tucks under the shingle above, so water moving down the roof slope is directed around the chimney rather than into it.
Counter flashing is the second layer. It’s cut into a groove in the mortar joint (roofers call this a reglet) and bent down to overlap the top edge of the step flashing. This is the piece that actually seals against the masonry. Without it, wind-driven rain can get up and under the step flashing no matter how well that first layer was installed. Homes where a contractor skipped the reglet cut and just caulked counter flashing to the surface of the brick are some of the most common leaks we repair—the caulk fails within a few years, and there’s nothing else holding that seal.
Cricket flashing, sometimes called a saddle, comes into play on chimneys wider than about 30 inches. It’s a small peaked structure built behind the chimney that splits water and pushes it around both sides instead of letting it pile up against the uphill wall of the chimney, where step flashing alone can’t keep up.
What Causes Chimney Flashing to Fail
Flashing doesn’t fail overnight. It’s almost always a slow breakdown, and it usually comes from one or more of these:
- Corrosion. Galvanized steel flashing rusts over time, especially where it’s in constant contact with moisture. Once rust perforates the metal, water goes straight through.
- Flashing separation. Wind uplift, foot traffic during other roof work, or just decades of thermal movement can pull step flashing loose from the shingles or pull counter flashing away from the mortar joint.
- Sealant failure. Whatever sealant was used at the counter flashing and reglet joint has a lifespan—typically 5 to 10 years depending on the product. Once it shrinks, cracks, or pulls away, the joint underneath is exposed.
- Cracked or deteriorating mortar joints. If the reglet cut for counter flashing is in bad mortar, the flashing loses its grip even if the metal itself is fine.
- Missing or undersized cricket. We see this often in older homes with wide chimneys built before crickets were standard practice. Water pools behind the chimney every time it rains.
- Freeze-thaw cycling. This is the big one for us locally. Water gets into a small gap, freezes, expands, and widens that gap. Repeat that process forty or fifty times a winter, and small problems become big ones fast.
Signs Your Roof Is Leaking Because of the Flashing
What you can see from the ground
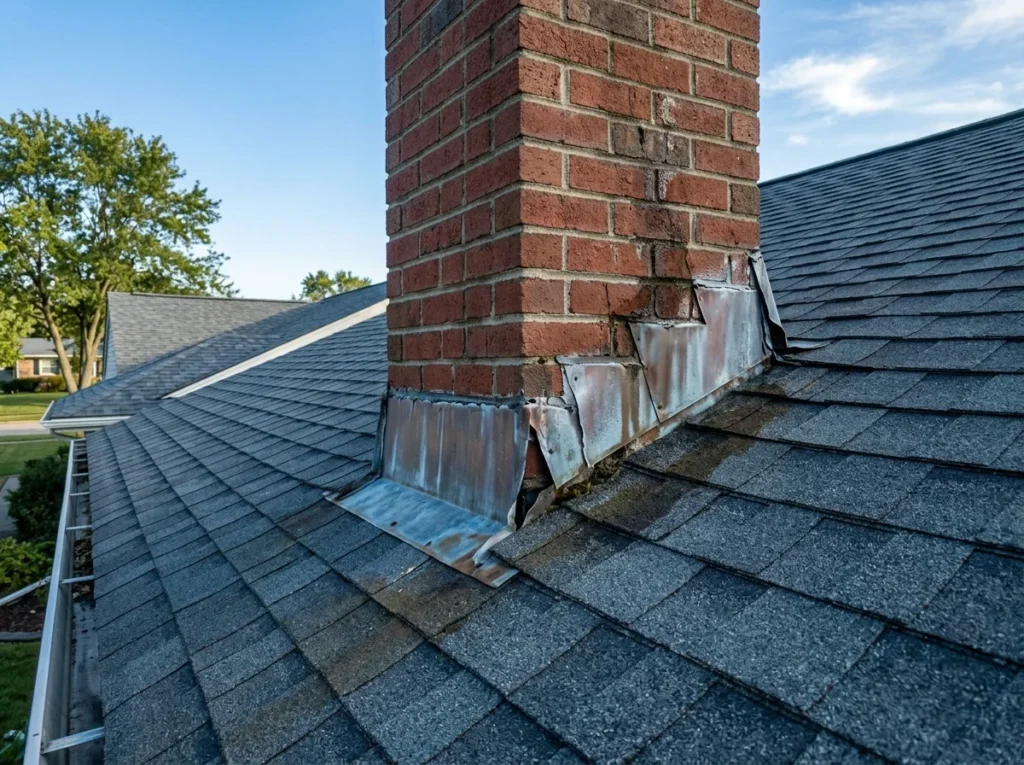
Grab a pair of binoculars or just zoom in with your phone camera from the yard. Look for streaking or dark staining on the roof directly below the chimney, rust trails running down the flashing or nearby shingles, visible cracks in the mortar where the counter flashing meets the brick, and shingles that look lifted or curled right at the chimney’s edge.
What shows up inside the house
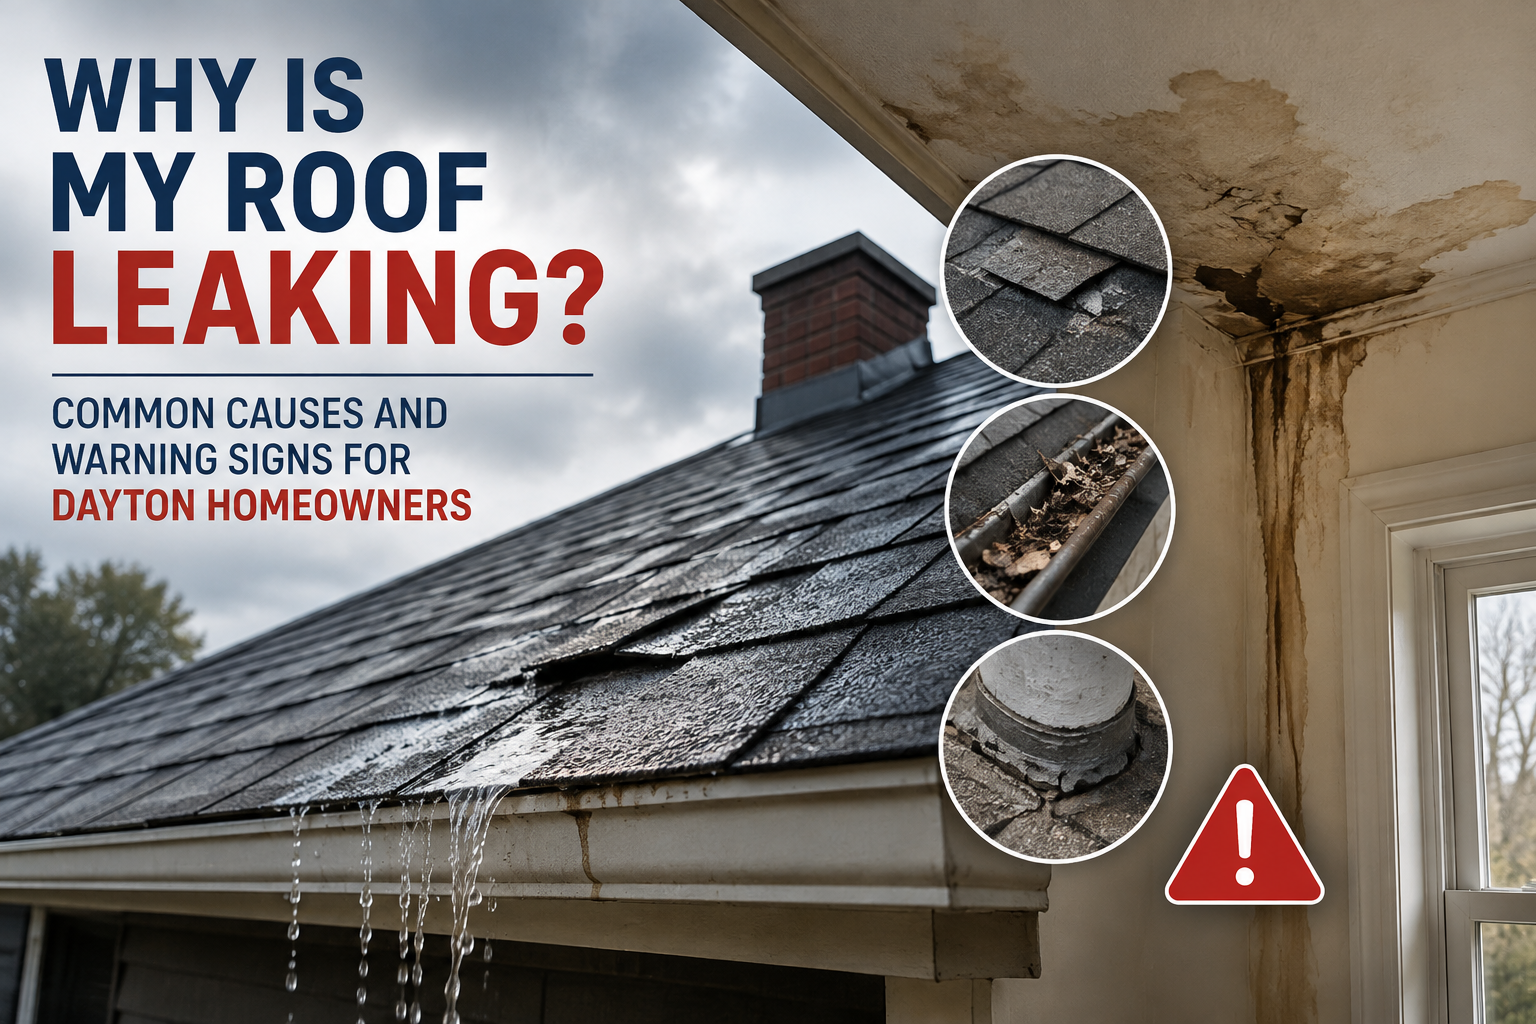
Interior signs usually show up before most homeowners think to check the roof. Watch for brown staining or bubbling paint on the ceiling near the chimney; nail pops or peeling tape joints on a sloped ceiling below the roofline; a musty smell in rooms near the chimney; and, in the attic, damp insulation, dark staining on the rafters or decking, or nails with a slight shine to them from condensation.
Leaking when it rains vs. leaking all the time
This distinction matters more than most people realize. If water only shows up during or right after a rainstorm, that’s a strong signal pointing to flashing or another roof-level entry point—water is getting in from outside. If you’re noticing dampness even during dry stretches, that points somewhere else entirely, usually condensation forming inside the flue from a furnace or water heater vented through an older chimney or a cracked liner. We ask about this timing on every service call because it tells us where to start looking before we even get on the roof.
Why the Leak Might Show Up Somewhere Other Than the Flashing
Here’s something that trips up a lot of homeowners: the stain on your ceiling is often not directly below where the water is actually getting in. Once water breaches the flashing, it doesn’t just drop straight down. It runs along the roof decking, follows a rafter, soaks through the underlayment, or travels across the top of the insulation until it finds a low point or a gap to drip through.
That’s why we don’t just patch the spot that matches the ceiling stain. We trace the path back — checking the decking, the sheathing, and the underlayment around the entire chimney base — because the actual failure point is frequently a foot or two away from where the damage shows up inside.
How We Diagnose a Chimney Flashing Leak
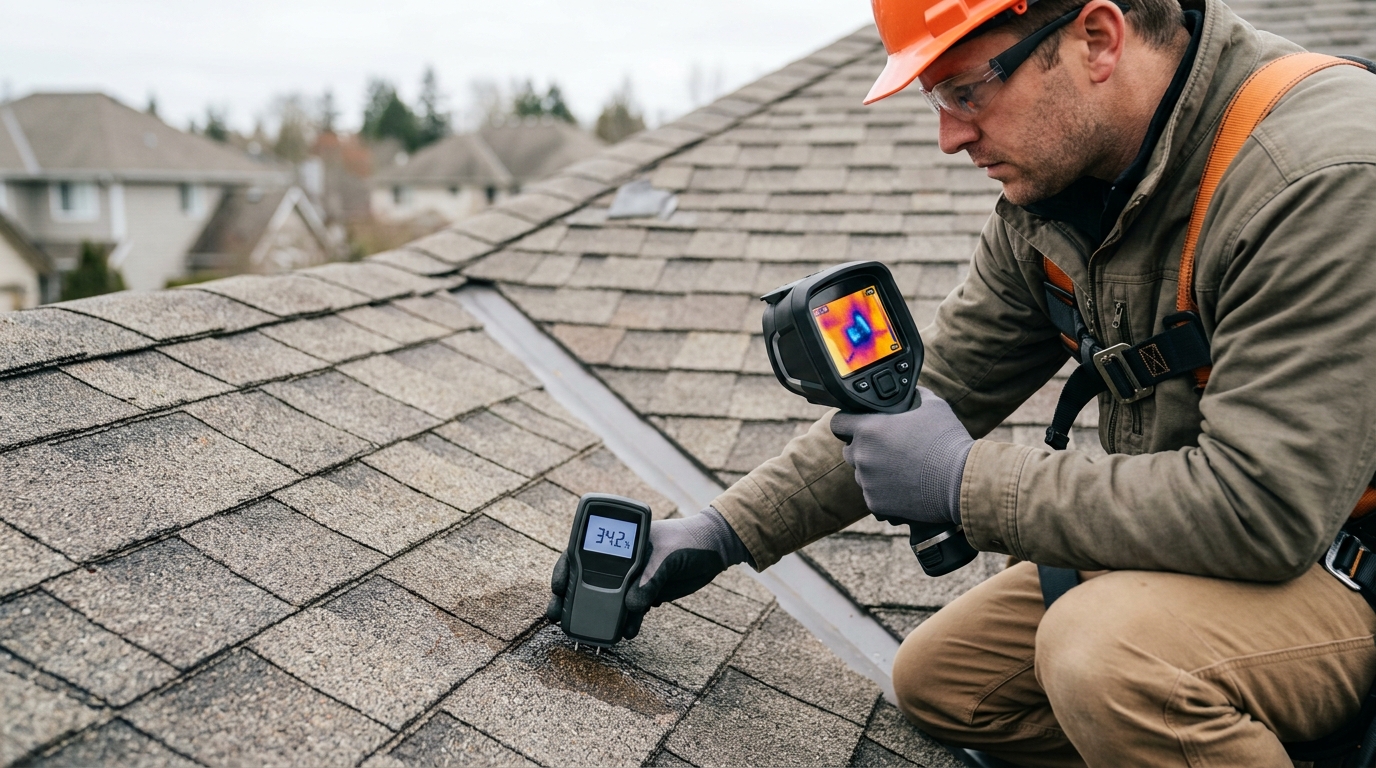
A real diagnosis starts on the roof, not with a tube of caulk. A professional roof inspection can help determine whether the flashing, shingles, decking, or another roof component is allowing water inside. When we inspect a chimney for a leak, we’re checking the condition of the step flashing along both sides, whether the counterflashing is still properly seated in the mortar joint, whether a cricket is present and sized correctly for the chimney’s width, and the condition of the roof decking and attic insulation directly around the chimney base.
If the original installation didn’t include an ice and water shield membrane around the chimney—which was common practice on older Ohio homes—we’ll flag that too, since it’s one of the most effective upgrades you can make during a repair.
Why Caulk Alone Won’t Fix It
We get a lot of calls from homeowners who tried sealing a chimney leak themselves with a tube of roofing caulk from the hardware store. It’s an understandable first move, and it will sometimes slow a leak down for a season. It won’t fix it.
Sealant is designed to be a secondary barrier, not the primary seal. When it’s asked to do the job flashing is supposed to do, it fails fast—usually within a year or two, sometimes in a matter of months if it’s applied over metal that’s already rusted or separated. A real roof repair replaces or reseats the actual metal flashing components and only uses sealant the way it was intended: as a finishing touch, not a patch.
Chimney Flashing Repair vs. Replacement
When repair is usually enough
If the leak is coming from one section of lifted step flashing or the sealant has failed at the counter-flashing joint but the metal underneath is still solid, a targeted repair typically resolves it. This is the more common scenario and the more affordable one.
When replacement makes more sense
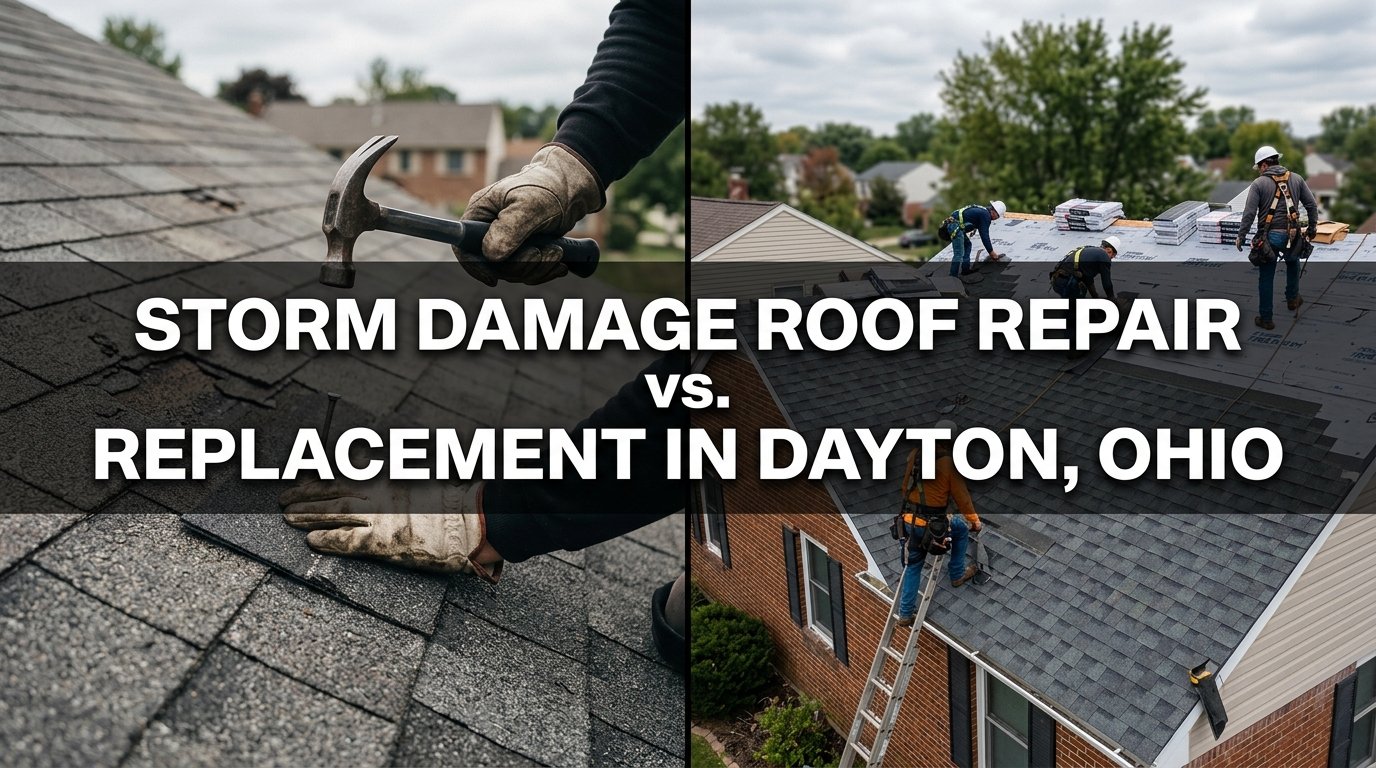
If the flashing is rusted through in multiple spots, the counterflashing was never properly cut into the mortar to begin with, or water has already reached and damaged the roof decking, a repair won’t hold. At that point, full flashing replacement—sometimes paired with limited decking repair—is the right call. If the damage extends beyond the flashing, understanding roof repair vs. replacement can help homeowners determine the more appropriate solution.
Cost varies based on flashing material, chimney size, and whether any decking work is needed, but as a general range, a straightforward flashing repair on a standard residential chimney typically runs a few hundred dollars, while a full flashing replacement is more often in the low thousands. Anyone quoting you a price before actually inspecting the flashing and the mortar condition is guessing.
FAQ
Can chimney flashing be repaired without replacing the whole roof?
Yes. Flashing work is isolated to the chimney base—we don’t touch the surrounding shingles unless they’re already damaged from the leak.
How long does a chimney flashing repair take?
Most repairs finish in 2–4 hours. Full replacement with new step and counter flashing usually takes a full day.
Is a chimney flashing leak covered by homeowners insurance?
Storm or wind damage often is; gradual wear from age typically isn’t. Your adjuster will want dated photos and an inspection report.
Can I temporarily seal a flashing leak myself until a roofer arrives?
A small bead of butyl or polyurethane sealant over an obvious gap can buy a few days—don’t use tar or duct tape.
How often should chimney flashing be inspected?
Every year, ideally in fall before freeze-thaw cycles start. Older galvanized flashing past 15–20 years needs closer, more frequent checks.
When to Call a Roofer
If you’re seeing staining that shows up specifically after rain, a musty smell that won’t go away, visible rust or gaps in the flashing, or a leak that keeps coming back after you’ve tried sealing it yourself, it’s time to have it looked at. An inspection tells you definitively whether the problem is the flashing, the masonry, or both, so you’re not paying to fix the same leak twice.
If you’re in Beavercreek or the surrounding area and you’re dealing with a chimney leak, give Helping Hands Roofing, LLC a call. We’ll get up there, find out exactly where the water is coming from, and give you a straight answer on what it’ll take to fix it right.